How to set your printer
| OS | Printer | Image Software |
|---|---|---|
| OS X Mountain Lion (10.8) | Epson Stylus Pro R1900 | Adobe Lightroom 5 |
1. Open the Print Module.
Select Print from the menu in the upper right.

2. Color Management Settings
2-1. In the PrintJob panel go to Color Management and then click on Profile.

2-2. Select the printer profile from the pull down menu. (ex. SPR1900 Epson Glossy)

* Clicking Profile displays a list of installed profiles.
If a list is not displayed, select Other from the pull down menu and check the box next to the profile.

2-3 Select Relative as your rendering intent.

3. Printer Settings
3-1. Click the Printer button in the print module.

3-2. In the print settings dialog box, select EPSON SP1900 series from the list of printers and click the Show Details button.

Select Print Settings and then under Media Type select the kind of paper you use (ex. Epson Premium Glossy).

Click the Print button to begin printing.
If necessary, select Paper Handling and change the paper size.


 |
 |
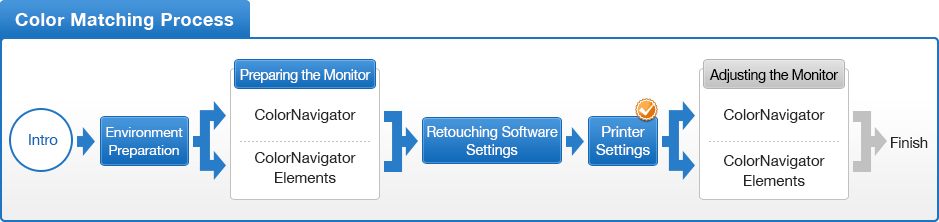
- You can use the above map to return to any section of this guide.


